


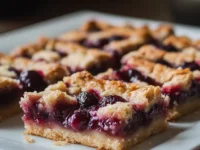

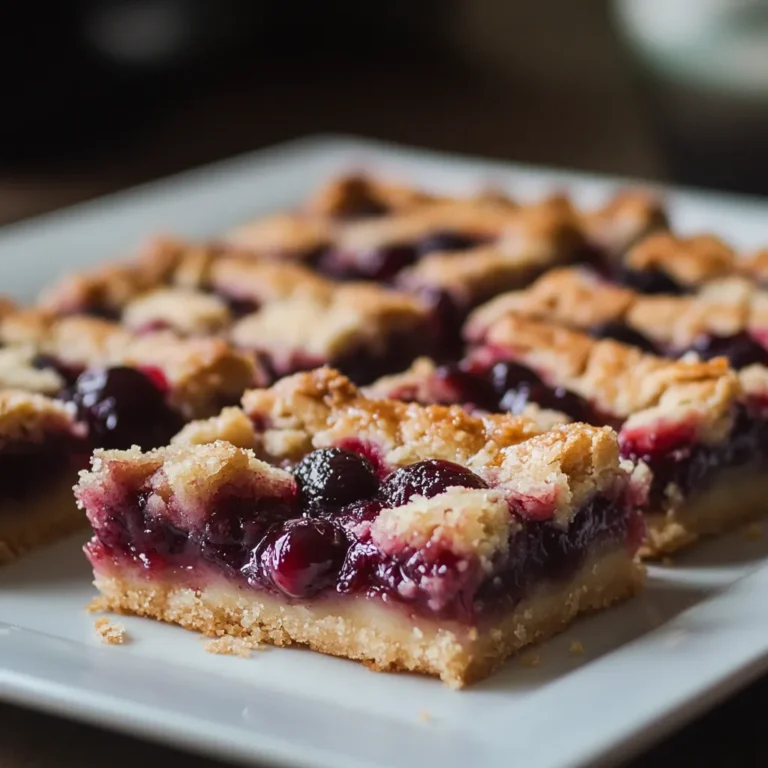
Cherry Pie Bars: A Slice of Sunshiny Delight
Picture it: a warm, sunny afternoon, the aroma of fresh cherries wafting through the air, and laughter filling the backyard as friends and family gather for a casual get-together. When it comes to desserts that embody the joy of such moments, Cherry Pie Bars stand out as a delightful treat that brings nostalgia and sweetness to the table. Inspired by the classic cherry pie, these bars offer the same delicious flavors but with a fun twist that’s perfect for sharing. The ease of preparation makes this recipe a winner for any occasion, be it a picnic, a cozy gathering, or even a holiday celebration. Plus, who doesn’t love the tart and sweet burst of cherries nestled in a comforting crust?
These Cherry Pie Bars are not just a dessert; they carry with them a sense of tradition and warmth. Whether you’re reminiscing about Grandma’s cherry pie or starting a new family tradition, this recipe is sure to create cherished memories. Plus, it’s a versatile dessert that can be dressed up for special occasions or enjoyed in simple everyday moments. Their vibrant colors and delectable taste promise to enchant your guests and entice them for seconds!
The Story Behind Cherry Pie Bars
The inspiration for Cherry Pie Bars stems from fond childhood memories spent picking cherries at local orchards and gathering with loved ones around the table, sharing slices of upon slices of the family favorite pie. In communities across America, cherry pie is more than just a dessert; it’s a staple that signifies summer and harvest time. Transforming this classic dish into easy-to-serve bars makes it more accessible and manageable for modern-day gatherings. These bars echo tradition while inviting everyone to partake in their delightful crunch and flavor, making them an artisan’s delight that you can turn into your own family treasure.
Ingredients: A Delicious Mix of Flavors
Before you roll up your sleeves, let’s gather the stars of this recipe! Here is everything you will need to create these scrumptious Cherry Pie Bars:
- 2 cups all-purpose flour: The foundation of the crust providing structure and a delicate texture.
- 3/4 cup granulated sugar: For sweetness that balances the tartness of the cherries.
- 1/4 teaspoon salt: Enhances the flavors and balances the sweetness.
- 1 cup unsalted butter, melted: Adds richness and binds the crust together.
- 1 cup fresh or frozen cherries, pitted and chopped: The star ingredient, offering tartness and juiciness.
- 1 tablespoon lemon juice: Brightens the cherry flavor and adds a refreshing twist.
- 1 tablespoon cornstarch: Helps thicken the cherry filling for a perfect consistency.
- 1 teaspoon vanilla extract: Deepens the flavor and adds warmth.
Main Ingredients
Fresh or Frozen Cherries: The heart of this recipe, cherries bring both color and flavor. Their natural tartness contrasts beautifully with the sweetness of the sugar and offers a juicy burst in every bite. If fresh cherries aren’t available, frozen ones work just as well; just ensure they are fully pitted and thawed before using.
Optional Additions
For those looking to personalize their Cherry Pie Bars, consider these optional additions:
- Add a pinch of cinnamon for a warm and cozy spice.
- Mix in some almond extract for an additional layer of flavor.
- Top with a drizzle of melted white chocolate for a sweet touch.
Special Garnishes
To elevate your Cherry Pie Bars further, garnish them with:
- Fresh mint leaves for a pop of color and refreshing aroma.
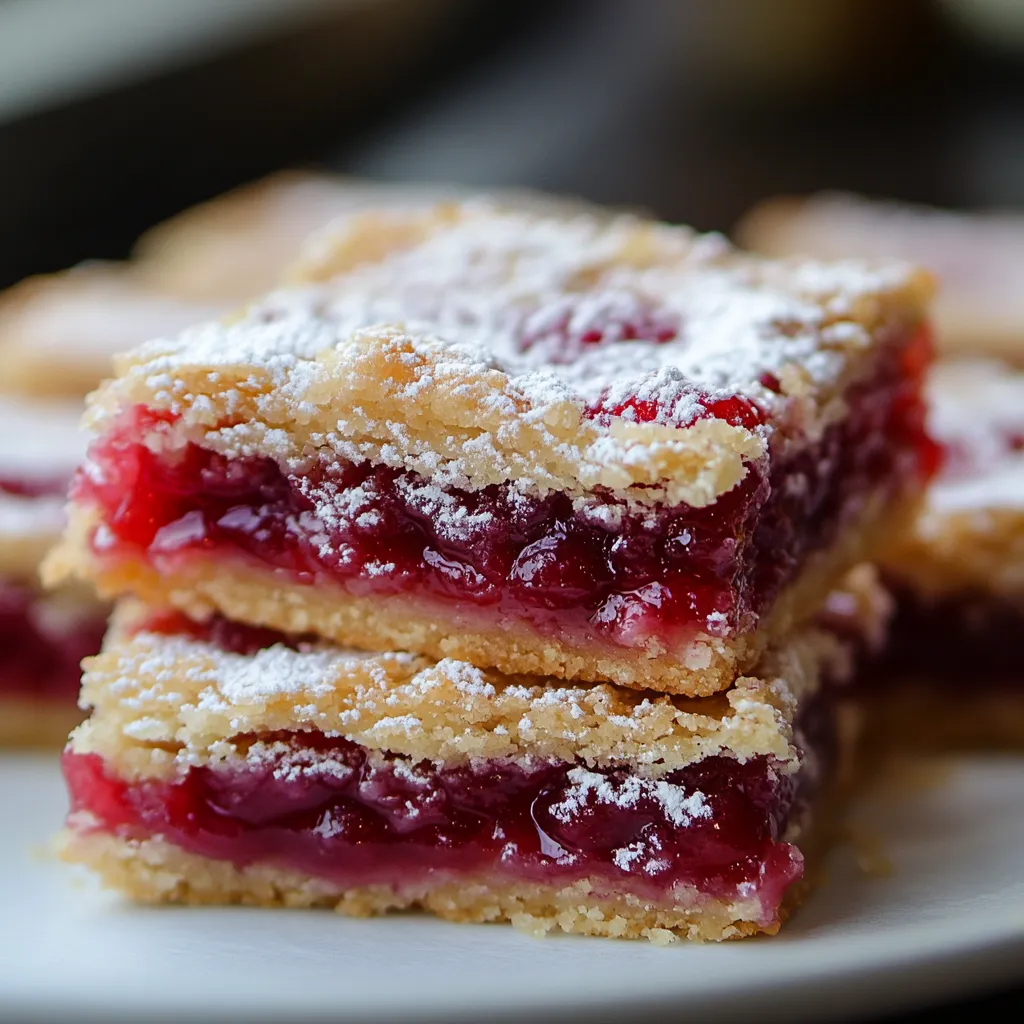
- A dusting of powdered sugar for an elegant finish.
- A scoop of vanilla ice cream to create a delightful contrast in temperatures.
Instructions: How to Prepare Cherry Pie Bars
Step 1: Preparation
To begin, preheat your oven to 350°F (175°C) and prepare a 9×13 inch baking pan by greasing it lightly or lining it with parchment paper for easy removal afterward. Next, it’s important to measure out your ingredients accurately—this is key to getting your crust just right. For a faster prep, have your butter already melted and let it cool slightly before mixing. While you’re at it, pit and chop those cherries if they’re fresh, or allow the frozen cherries to thaw fully. Setting all these elements in place will streamline the process.
Step 2: Mixing or Cooking
In a large mixing bowl, combine the flour, sugar, and salt. Gradually pour in the melted butter, stirring until everything is well integrated and crumbly. Reserve about one cup of this mixture for the topping. Next, press the remaining mixture firmly into the bottom of your baking pan to form a crust. Bake this crust for about 15 minutes, or until it’s just beginning to turn golden. While the crust is baking, prepare the cherry filling by mixing the chopped cherries, lemon juice, cornstarch, and vanilla extract in a medium bowl. Stir everything together until well combined, allowing the juices to meld.
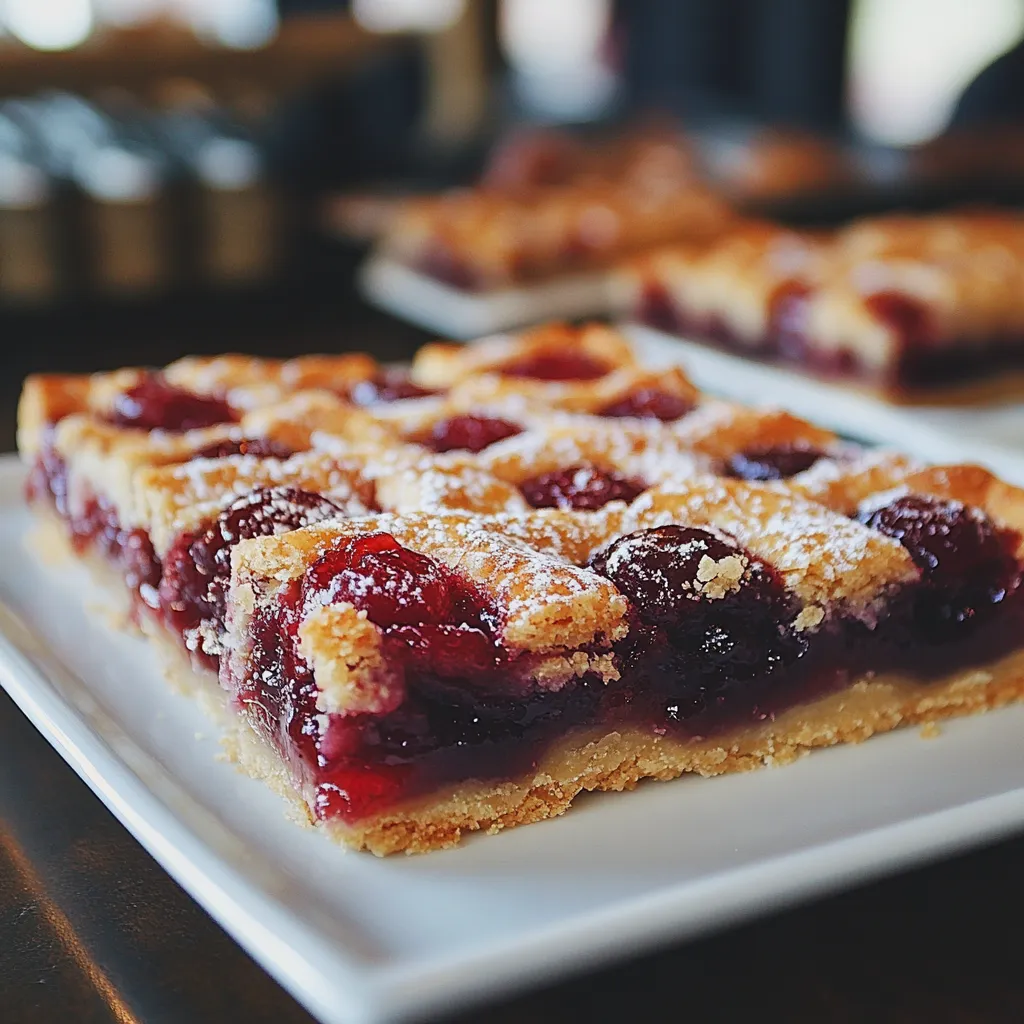
Step 3: Assembly/Serving
After baking the crust, remove it from the oven and pour the cherry mixture over the top, spreading it evenly. Use the reserved crumb mixture to sprinkle over the cherry filling, ensuring a nice, even layer. Return the pan to the oven and bake for an additional 20-25 minutes, or until the topping is golden brown and the cherry filling is bubbly. Once it’s out of the oven, let it cool completely before slicing into bars. Presenting these Cherry Pie Bars on a colorful plate can make them look even more enticing—perhaps with a little dusting of powdered sugar on top before serving.
Customizing Your Cherry Pie Bars
Flavor Variations
For those up for some creative flair, changing the flavor profile of your Cherry Pie Bars can yield delightful results. Here are a few ideas:
- Mix in strawberries or raspberries with the cherries for a berry medley.
- Incorporate a touch of bourbon or whiskey in the cherry filling for an adult twist.
- Add a few tablespoons of chocolate chips for a decadent touch.
Dietary Adaptations
These Cherry Pie Bars can also be adapted to suit various dietary needs. To make them gluten-free, substitute the all-purpose flour with a gluten-free baking blend. For vegan options, use coconut oil instead of butter and replace the eggs (if any) with flaxseed meal. Also, you can use maple syrup as a natural sweetener in place of granulated sugar.
Making It a Meal
While Cherry Pie Bars are a delightful dessert on their own, pairing them with the right accompaniments can elevate the experience. Consider serving them with:
- A scoop of homemade vanilla ice cream for a classic duo.
- A drizzle of caramel sauce to enhance that sweet-tart flavor.
- Brewed iced tea or lemonade for a refreshing beverage that complements the dessert perfectly.
Serving Tips for Gatherings
Presentation Ideas
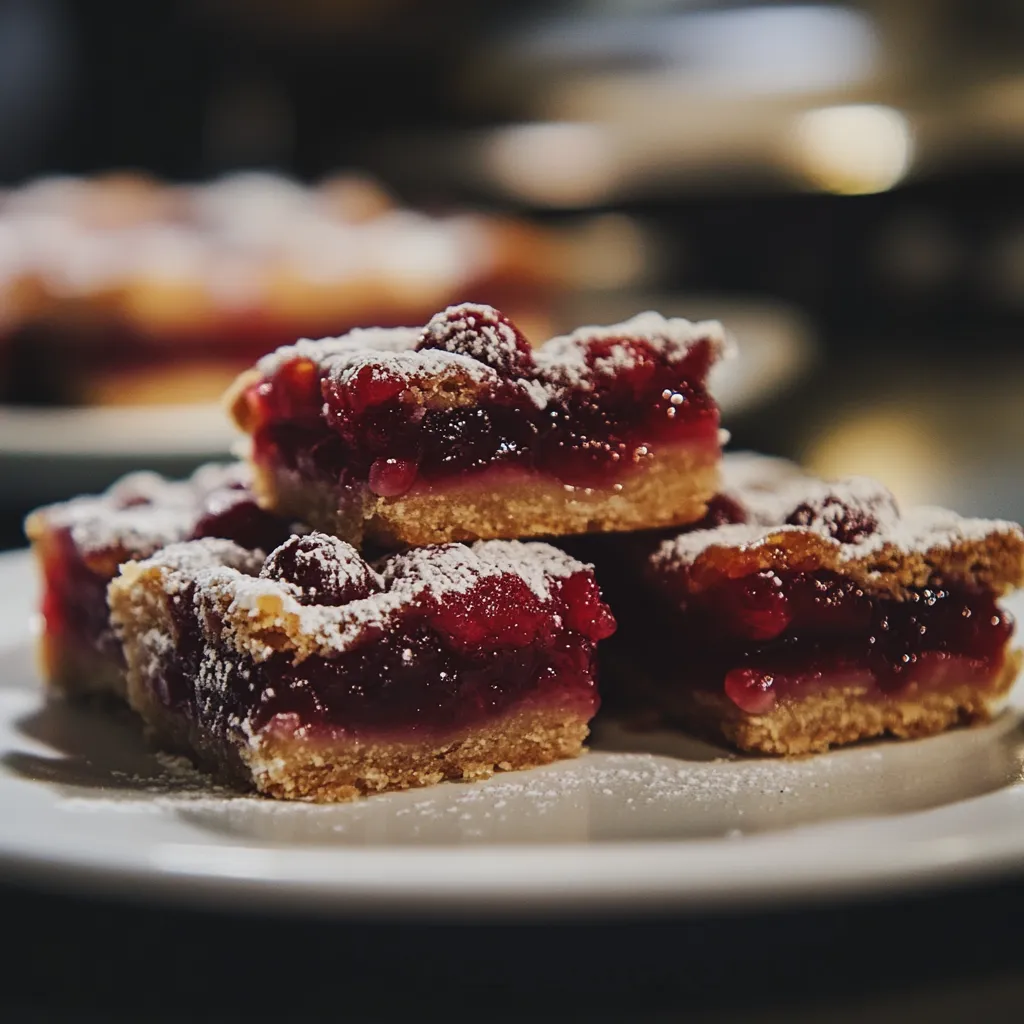
For a beautiful presentation at your next gathering, consider serving your Cherry Pie Bars on a rustic wooden board or a vibrant platter. Arrange them artfully, perhaps interspersing fresh cherries as decorative accents. A light dusting of powdered sugar sprinkled over the bars adds visual intrigue, while a side of whipped cream can entice your guests to indulge.
Thematic Decor
If you’re hosting a summer picnic or a garden party, enhance the atmosphere with floral decorations—think fresh wildflowers in mason jars or checkered tablecloths that evoke a sense of nostalgia and outdoor charm. Using playful serving utensils and colorful napkins corresponding to the theme can also elevate the dining experience.
Complementary Pairings
To create a cohesive and enjoyable meal, think about coordinating flavors with other dishes. Some great pairings include:
- A simple green salad with vinaigrette to balance out the sweetness.
- Grilled pork or chicken with a sweet glaze can harmonize with the cherry flavors.
- Refreshing lemonade or a tart cherry-infused cocktail to keep the mood lively.
Final Thoughts
Cherry Pie Bars are a must-try for anyone looking to delight family and friends with a unique, delicious dessert. Their combination of juicy cherries, buttery crust, and a crispy topping makes each bite a burst of flavor that is hard to resist! Not only are they simple to make, but they are also unbelievably versatile, allowing each baker to add their special twist. Don’t shy away from experimenting with various add-ins or garnishes—your personal touch might lead to this becoming your new favorite dessert!
Crafting these Cherry Pie Bars is not just about making a dish; it’s about creating a culinary experience filled with flavor and joy, perfect for making memorable moments with loved ones. So roll up your sleeves, grab some cherries, and start baking!
Tips for Making Cherry Pie Bars
Fresh Ingredients
For the best flavor and texture in your Cherry Pie Bars, always opt for fresh or high-quality ingredients. Fresh cherries will yield a more vibrant taste and texture compared to canned options. Similarly, using real butter instead of margarine can elevate the richness of the crust.
Adjusting Flavor
If you find that your filling isn’t quite to your liking, don’t hesitate to adjust the sweetness by adding more sugar or the tartness with additional lemon juice. Tasting along the way will ensure you create the perfect balance!
Storage Tips
To store leftovers, place them in an airtight container and keep them in the refrigerator for up to 4-5 days. If you want to savor them longer, these bars can also be frozen—just ensure they are fully cooled before wrapping them tightly to avoid freezer burn.
Make It Ahead
To save time during gatherings, consider preparing your crust a day ahead and storing it in the refrigerator until you’re ready to assemble the bars. You can also create the cherry filling beforehand and store it separately—just mix it in before baking!
Serving Suggestions
It’s best to serve Cherry Pie Bars while they’re slightly warm to enjoy the sumptuous filling and crispy topping. For an extra treat, consider serving them with a dollop of whipped cream or a scoop of ice cream just as guests arrive—this will certainly set the tone for a delightful dessert experience!
FAQ
Can I use a different type of fruit for this recipe?
Absolutely! While this recipe highlights cherries, you can easily substitute them with other fruits such as blueberries, raspberries, or even a mix of summer berries. Just adjust the sugar according to the sweetness of the fruit you choose.
How do I make this less sweet?
If you prefer a less sweet dessert, you can reduce the amount of sugar in the cherry filling or opt for a tart cherry variety. Additionally, you might want to control the sweetness of the crust by adjusting the sugar there as well.
Can this be frozen for later use?
Yes, Cherry Pie Bars can be frozen! Once they are completely cool, slice and wrap them tightly in plastic wrap, then place them in an airtight container or freezer bag. They will last up to 3 months in the freezer. Thaw them overnight in the refrigerator when ready to enjoy.
What are good substitutes for all-purpose flour?
If you’re looking for gluten-free options, almond flour or a gluten-free all-purpose blend can work well as substitutes for all-purpose flour. Be sure to adjust the measurements accordingly, as different flours may have different absorption rates.
Conclusion
Cherry Pie Bars are not just a sumptuous dessert; they are a wonderful way to bring friends and family together, celebrating life’s sweetest moments with every delicious bite. The combination of flavors, ease of preparation, and versatility makes this recipe an absolute standout. Whether you’re a seasoned baker or a novice in the kitchen, these bars are achievable and rewarding!
Don’t hesitate to make this recipe your own by adding personal touches or customizing the flavors. Share your experiences or adaptations in the comments—I can’t wait to hear how you’ve made this recipe yours! Remember, every bite of these Cherry Pie Bars has the potential to create lasting memories with the people you love.

Cherry Pie Bars
- Total Time: 1 hour
- Yield: 12 servings 1x
Description
Indulge in Easy Irresistible Cherry Pie Bars These delicious dessert treats are perfect for any occasion bringing joy in every bite Enjoy
Ingredients
- 2 cups all-purpose flour
- 3/4 cup granulated sugar
- 1/4 teaspoon salt
- 1 cup unsalted butter, melted
- 1 cup fresh or frozen cherries, pitted and chopped
- 1 tablespoon lemon juice
- 1 tablespoon cornstarch
- 1 teaspoon vanilla extract
Instructions
- Preheat your oven to 350°F (175°C) and prepare a 9×13 inch baking pan by greasing it or lining it with parchment paper.
- In a large mixing bowl, combine the flour, sugar, and salt. Gradually pour in the melted butter, stirring until crumbly. Reserve about 1 cup of this mixture for the topping.
- Press the remaining mixture firmly into the bottom of the baking pan to form a crust and bake for 15 minutes until it begins to turn golden.
- Mix the chopped cherries, lemon juice, cornstarch, and vanilla extract in a bowl to prepare the cherry filling.
- After baking the crust, pour the cherry mixture over the top, sprinkle with reserved crumbs, and bake for an additional 20-25 minutes.
- Let it cool completely before slicing into bars and serving.
- Prep Time: 20 minutes
- Cook Time: 40 minutes
- Category: Dessert
- Method: Baking
- Cuisine: American
Nutrition
- Calories: 240 calories
- Sugar: 15 grams
- Fat: 10 grams
- Saturated Fat: 10 grams
- Carbohydrates: 35 grams
- Fiber: 2 grams
- Protein: 3 grams
0 Comments